
Steps to configure RAS (Remote Access Service) on Windows 2016 Server
1. Install RAS.
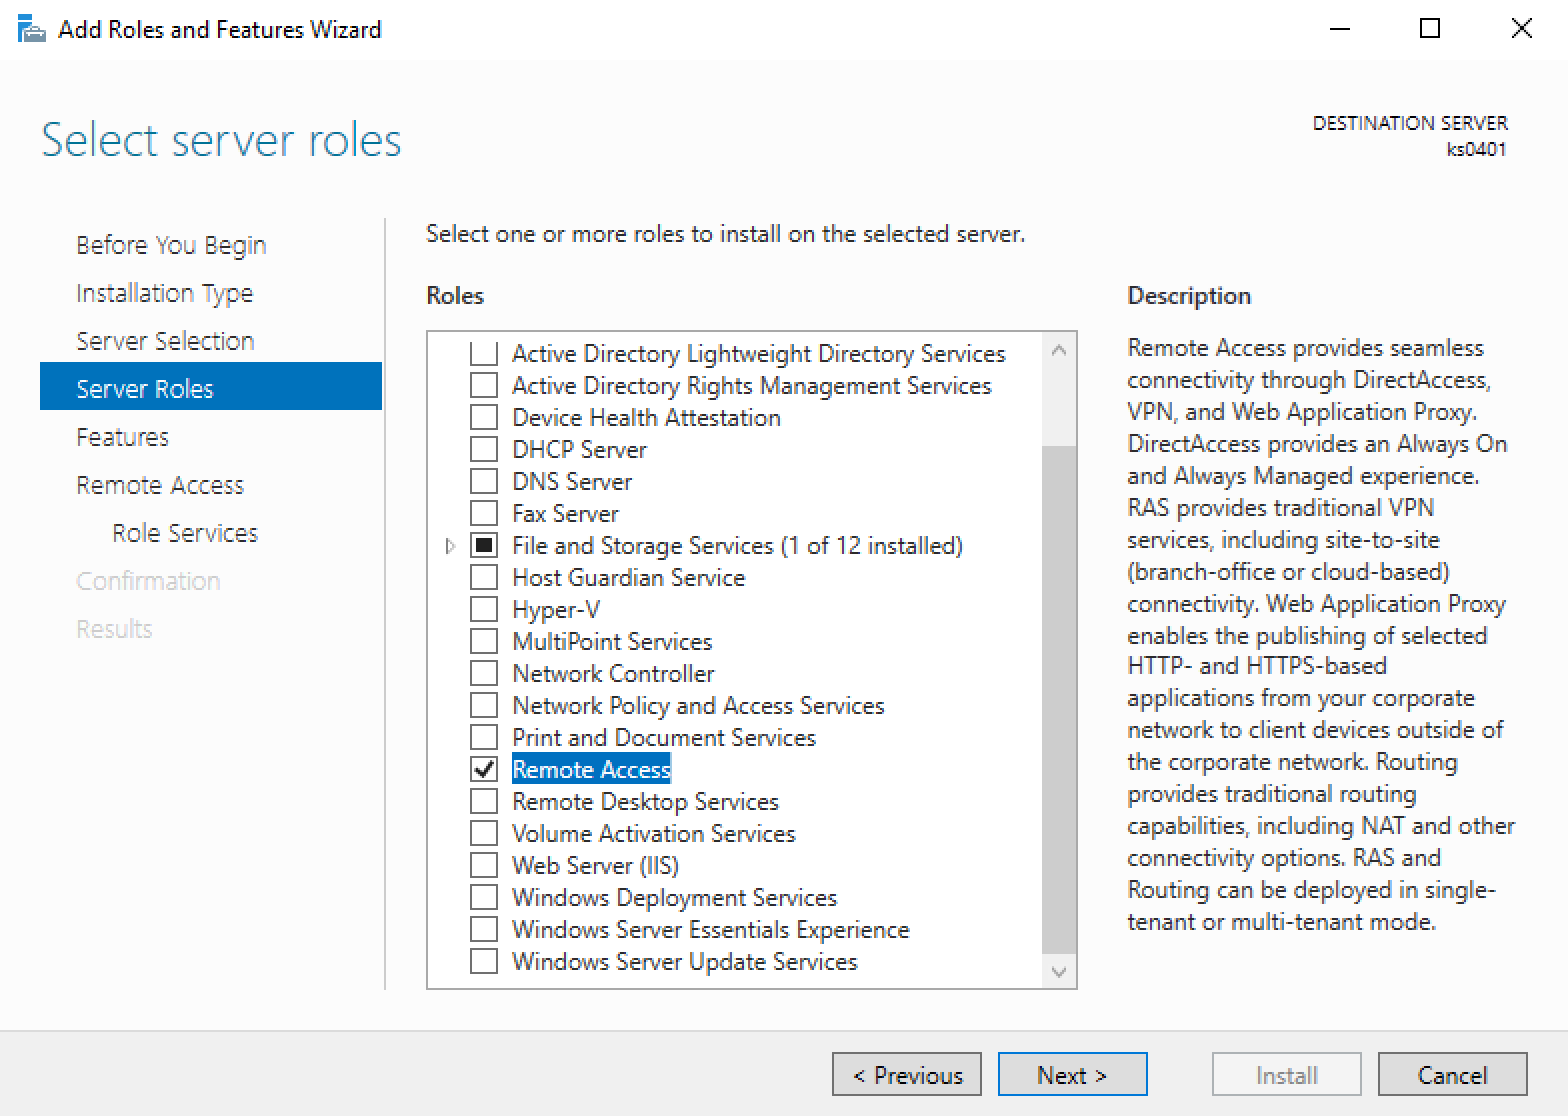
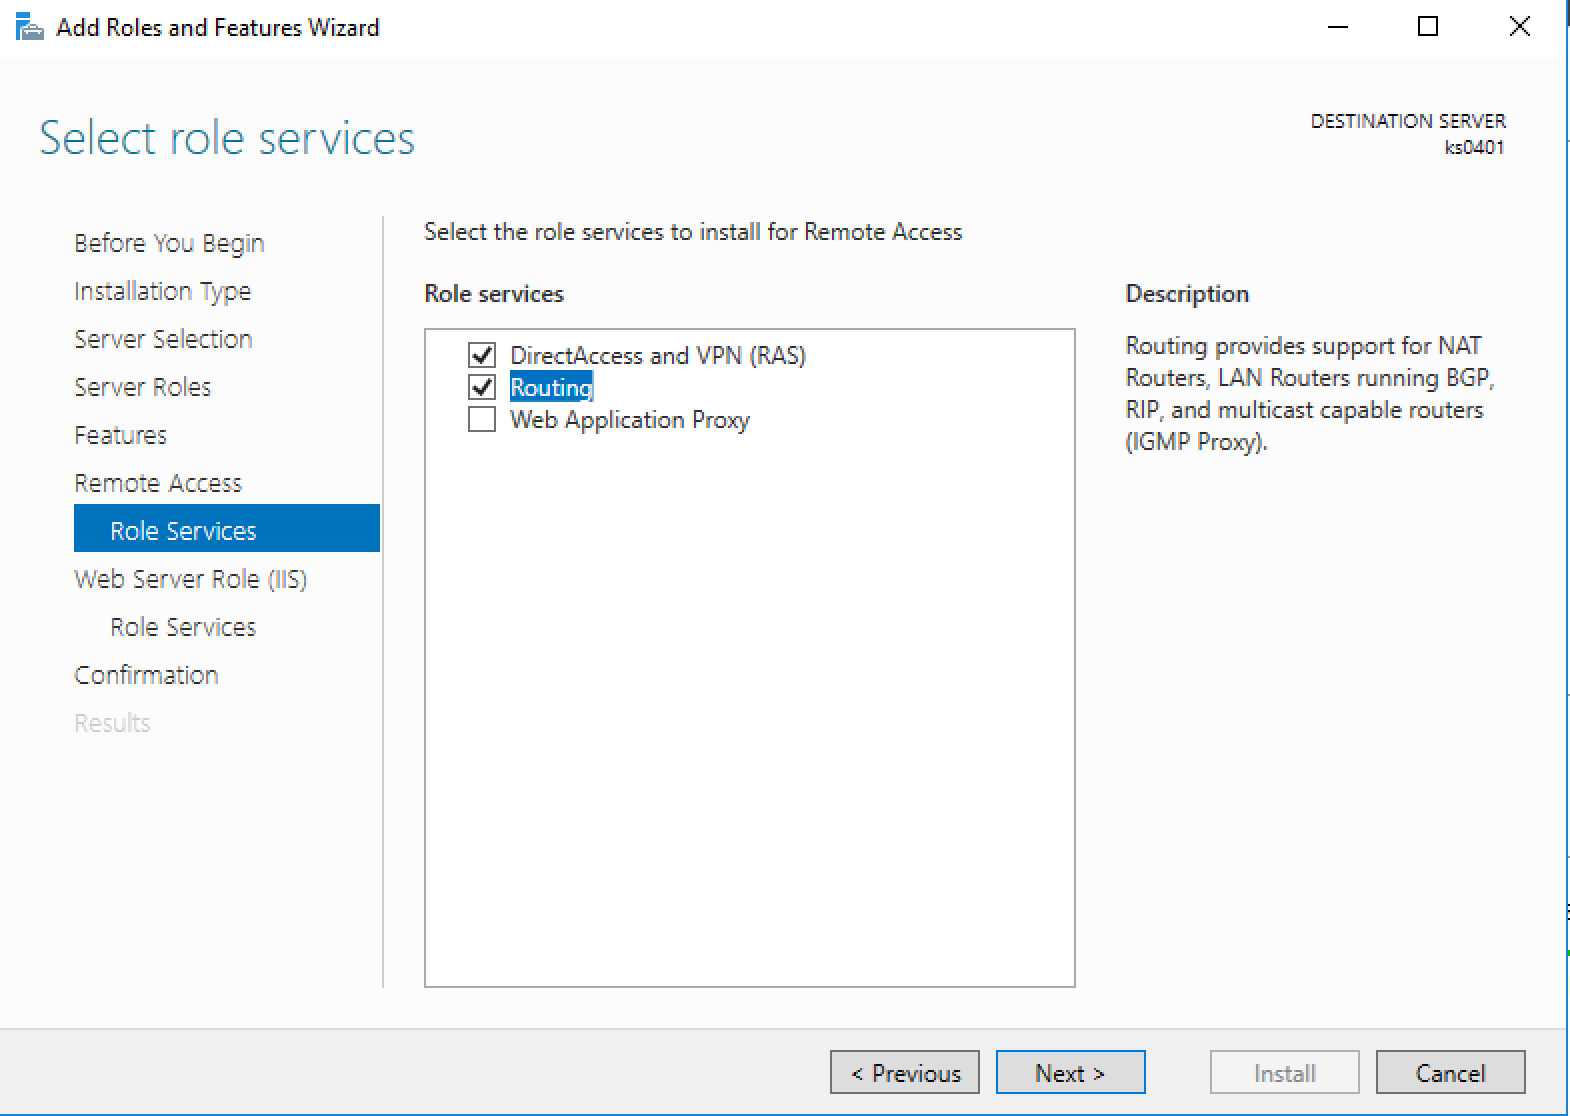
2. Select “RAS” and “Routing”
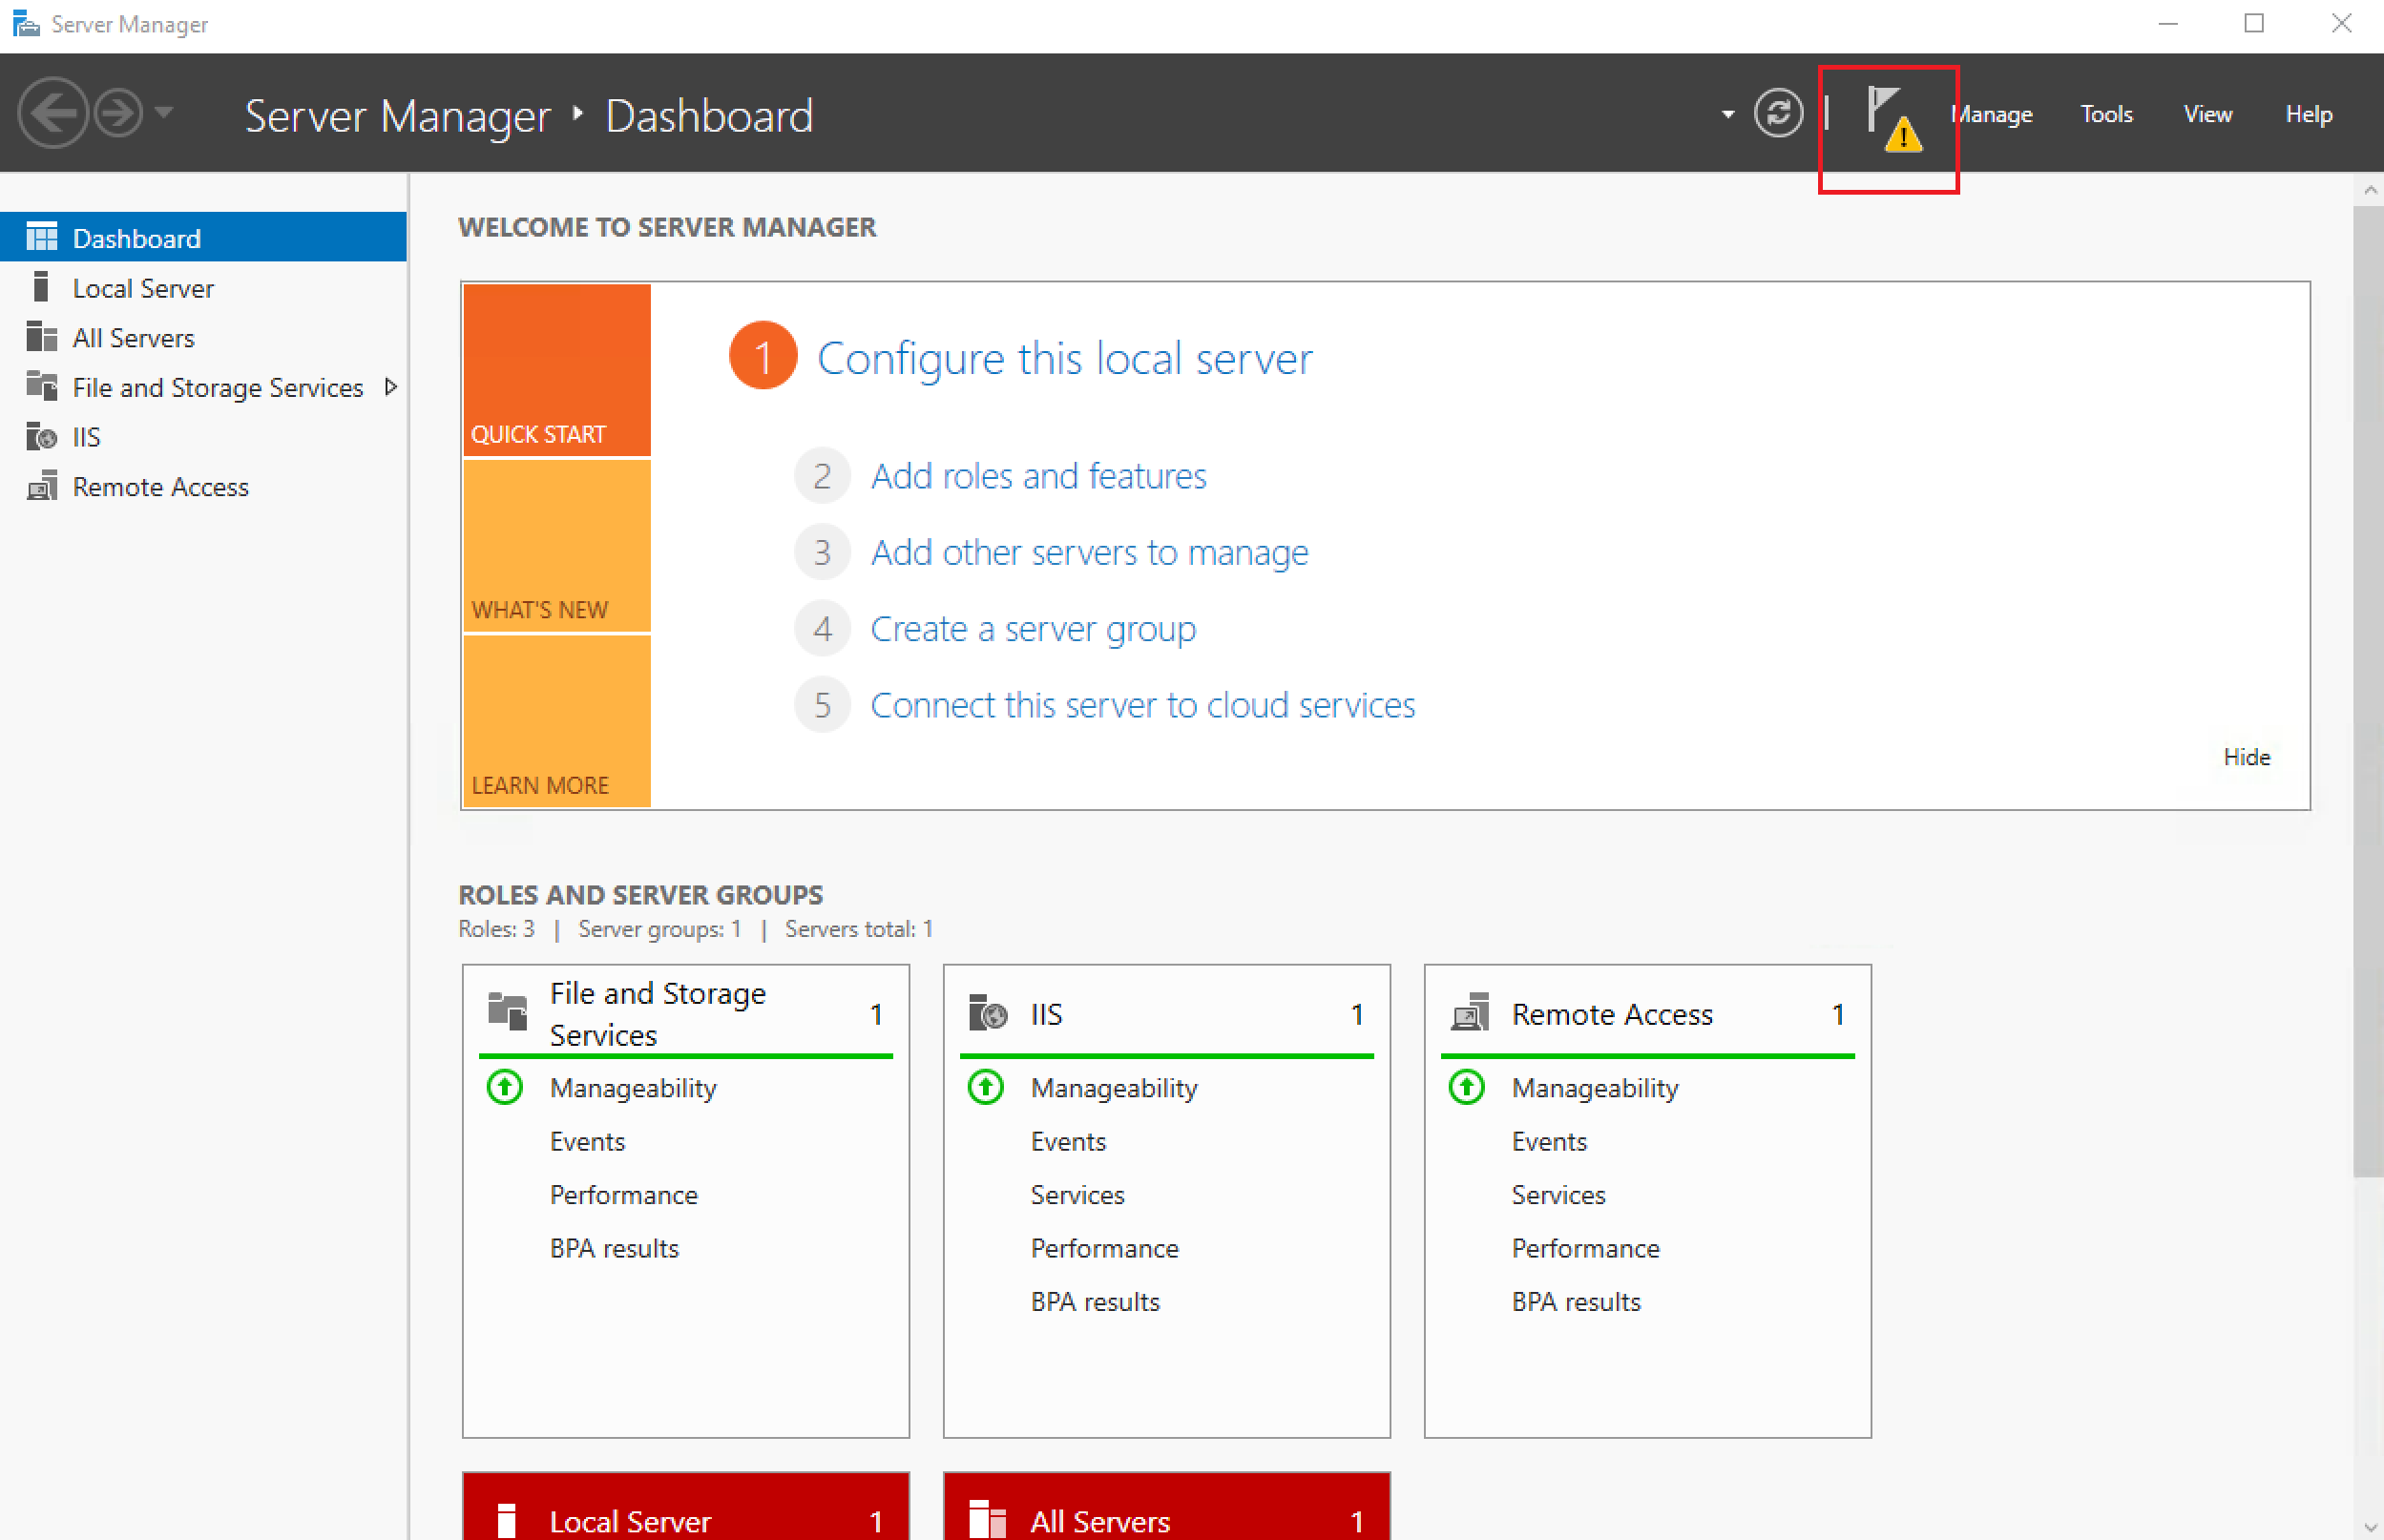
3. Click on the orange icon once RAS is installed.
4. Select “Deploy VPN Only” (Sorry forgot capturing the screenshot)
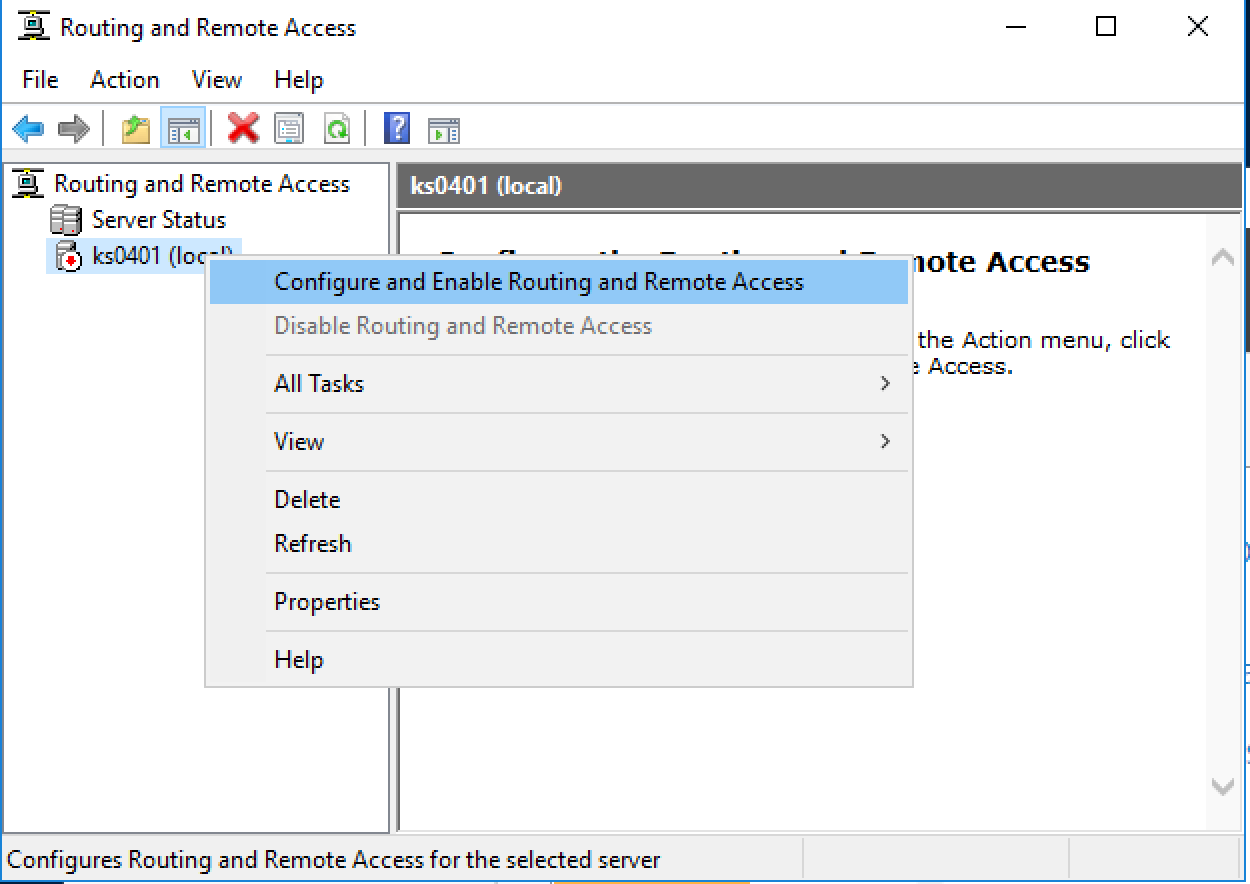
5. Right click on the server and select “Configure and Enable Routing and Remote Access”
6. Next
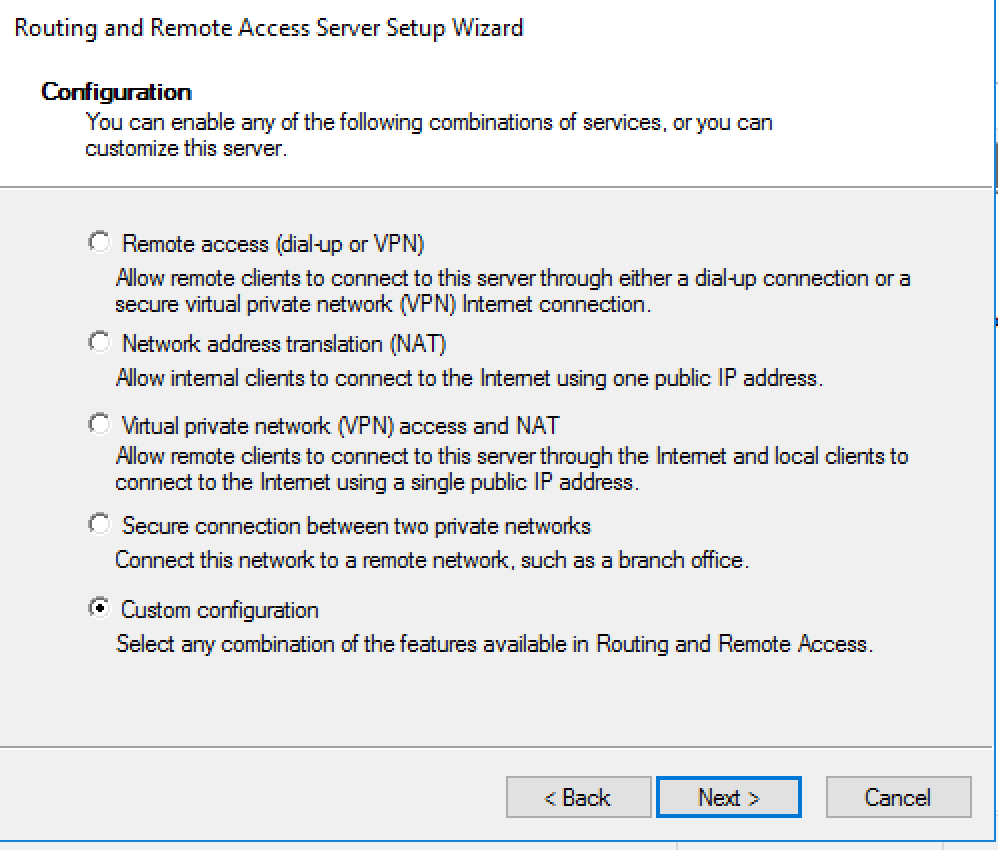
7. Select “Custom configuration”
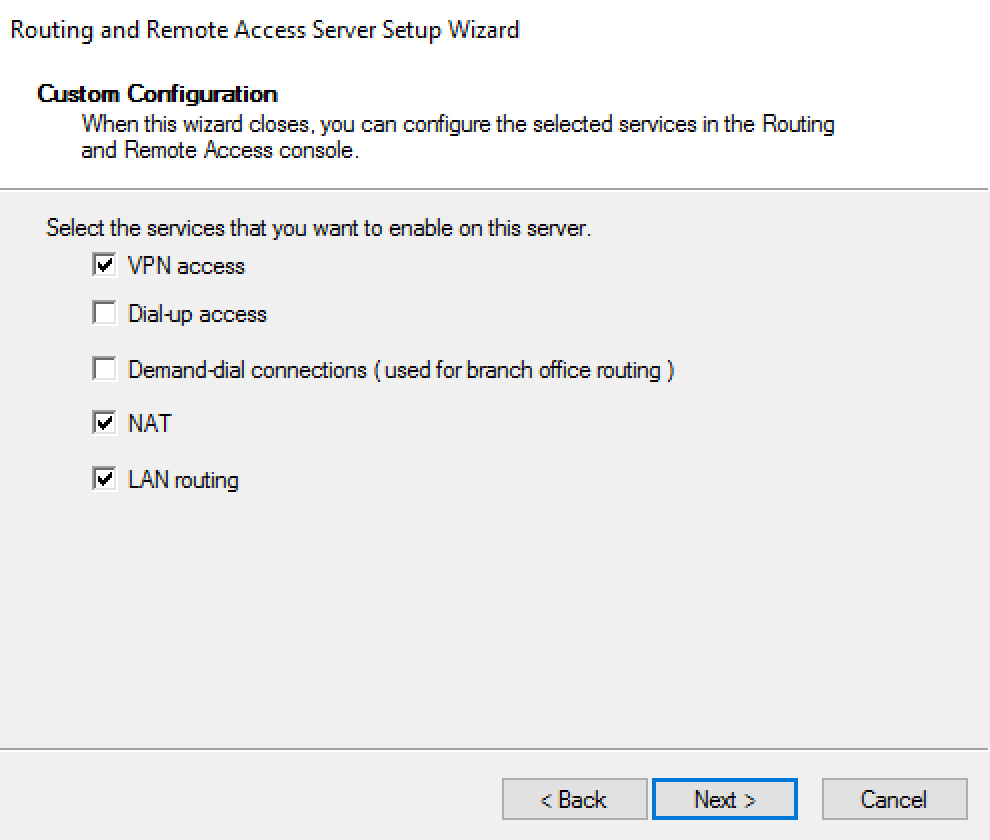
8. Select “VPN access”, “NAT” and “LAN routing”
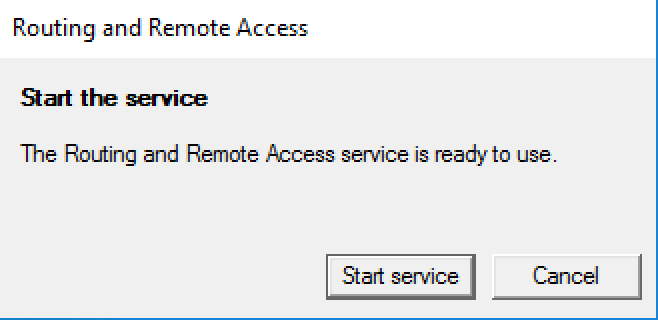
9. Start service
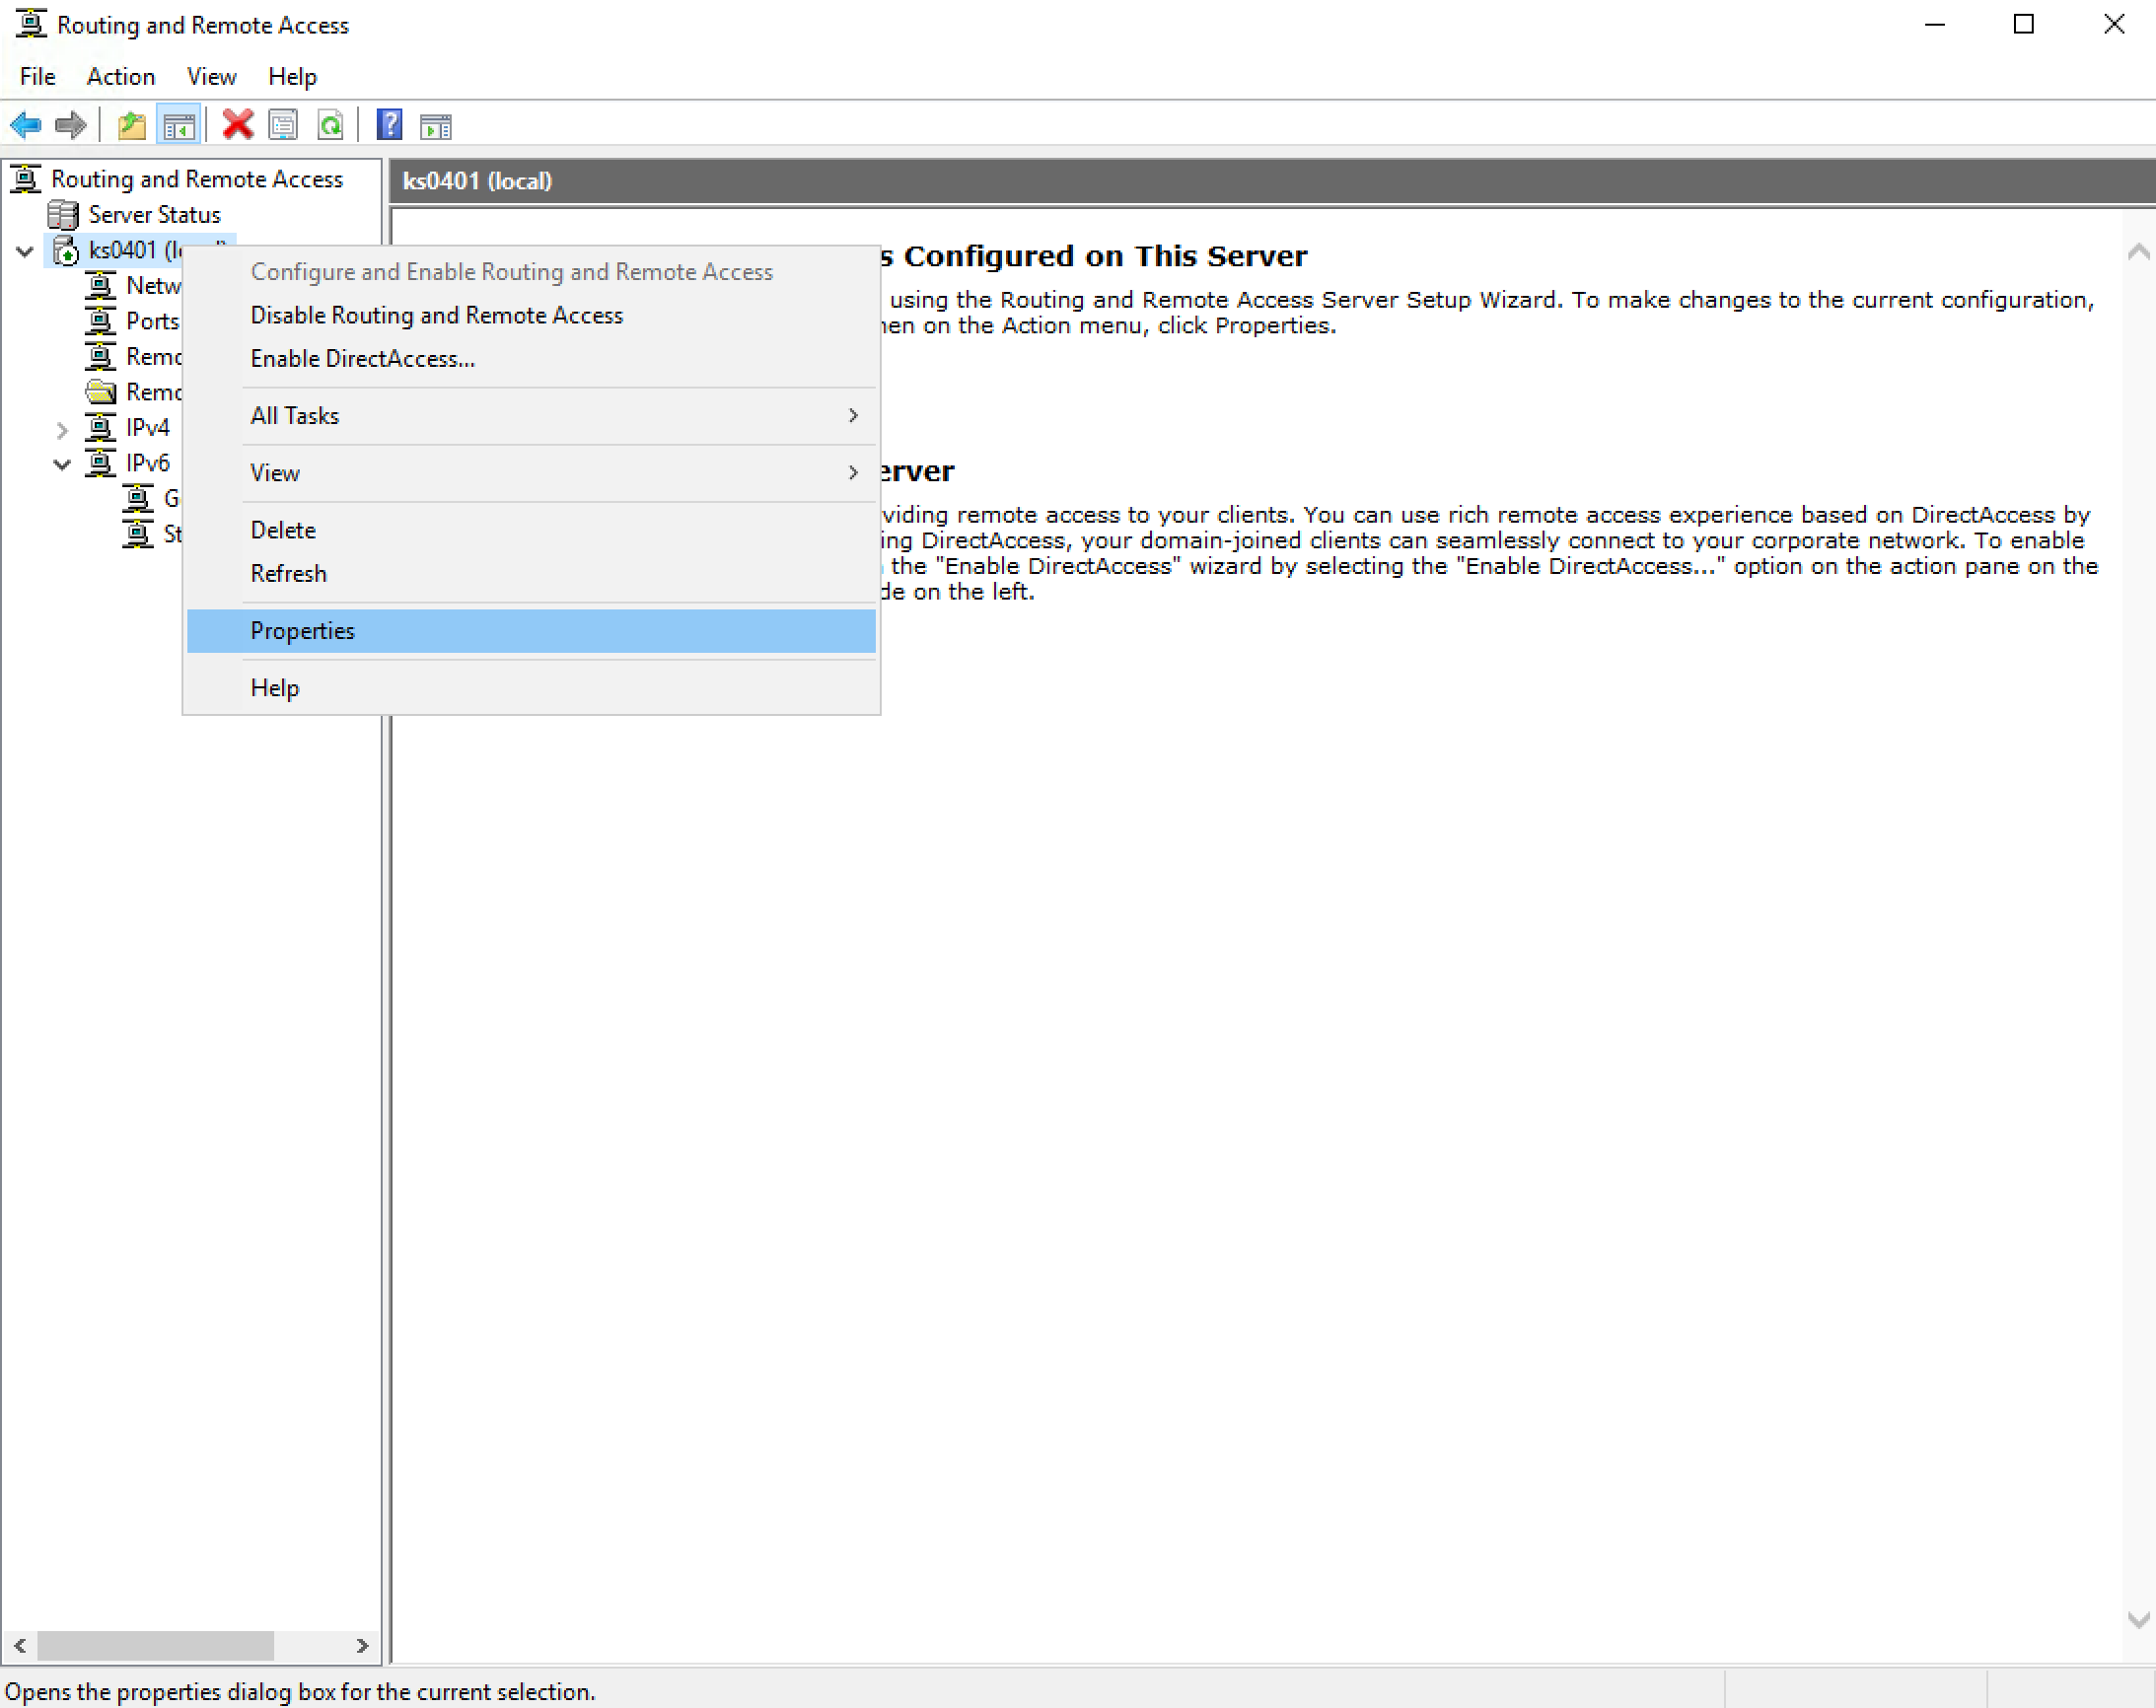
10. Right click on the server and select “Properties”
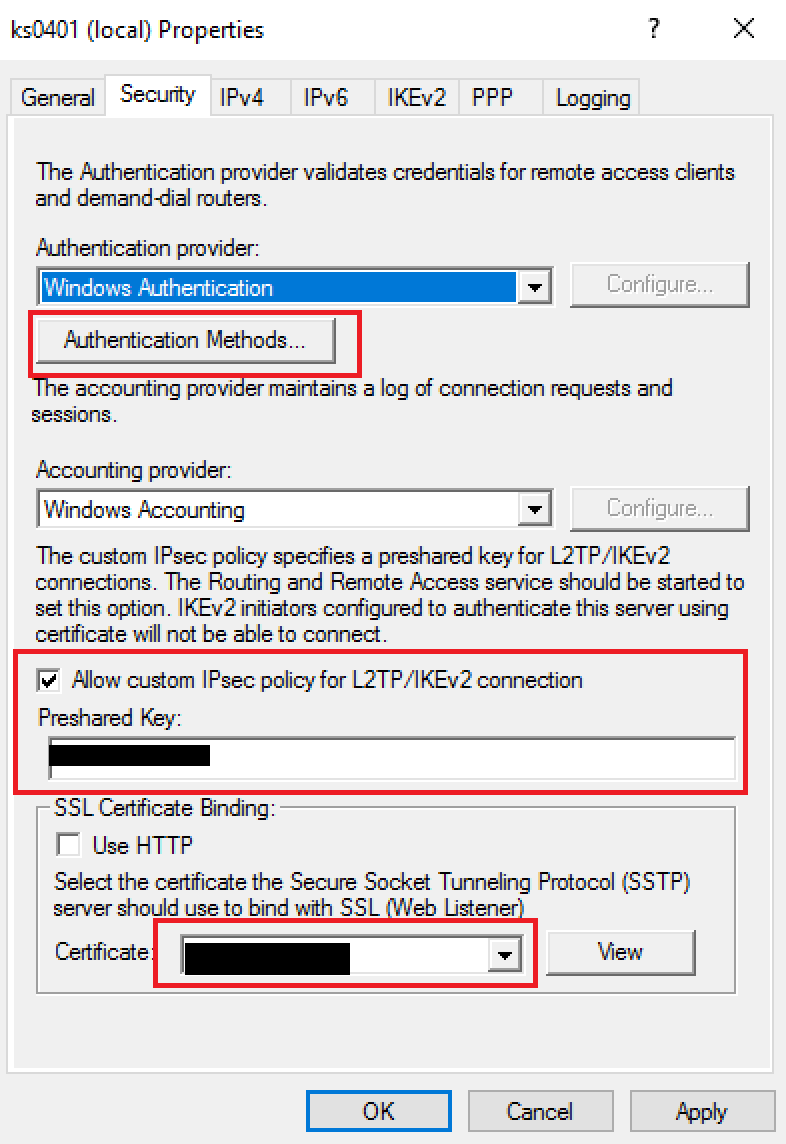
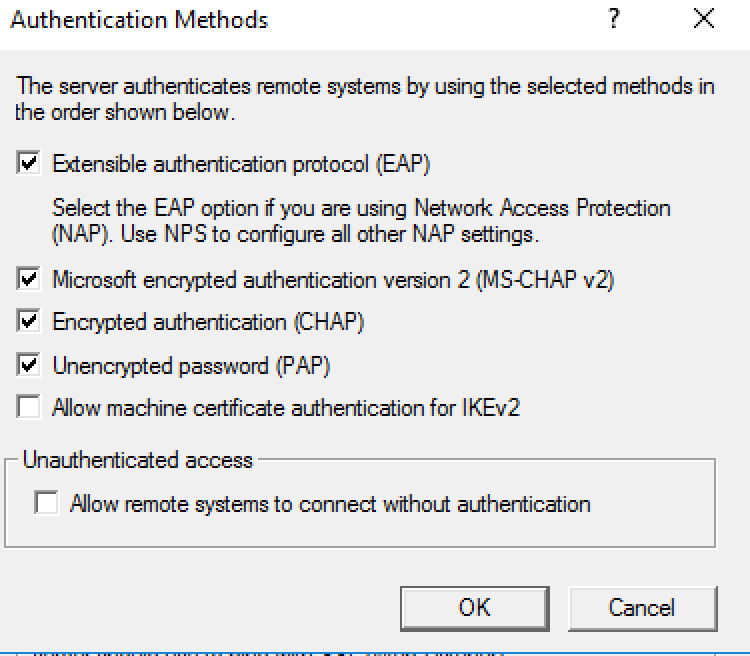
11. Select “Security” tab and click “Authentication Methods…” then select the authentication methods you use (for all protocols).
Tick on “Allow custom IPsec pocky for L2TP/IKEv2 connection” and specify the “Preshared Key” (for L2TP/IPSEC).
Select your SSL certificate (for SSTP). Note : The SSL certificate needs to be imported in Personal store in IIS.
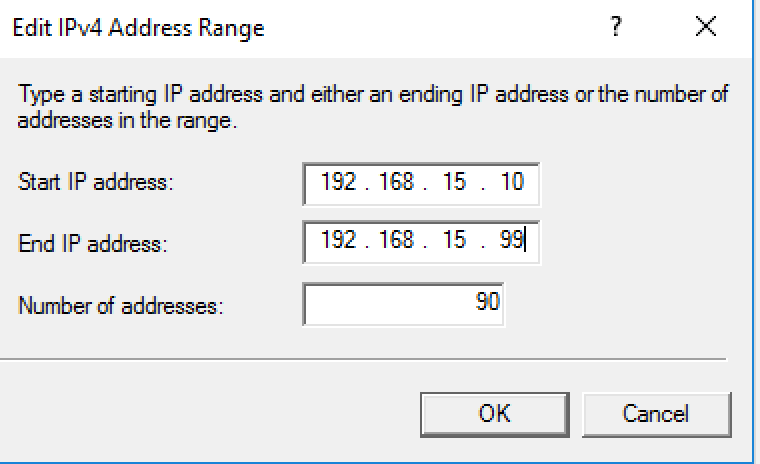
12. Select “IPv4” tan and select “Static address pool” then click “Add…”

13. Specify the IP address range for clients.
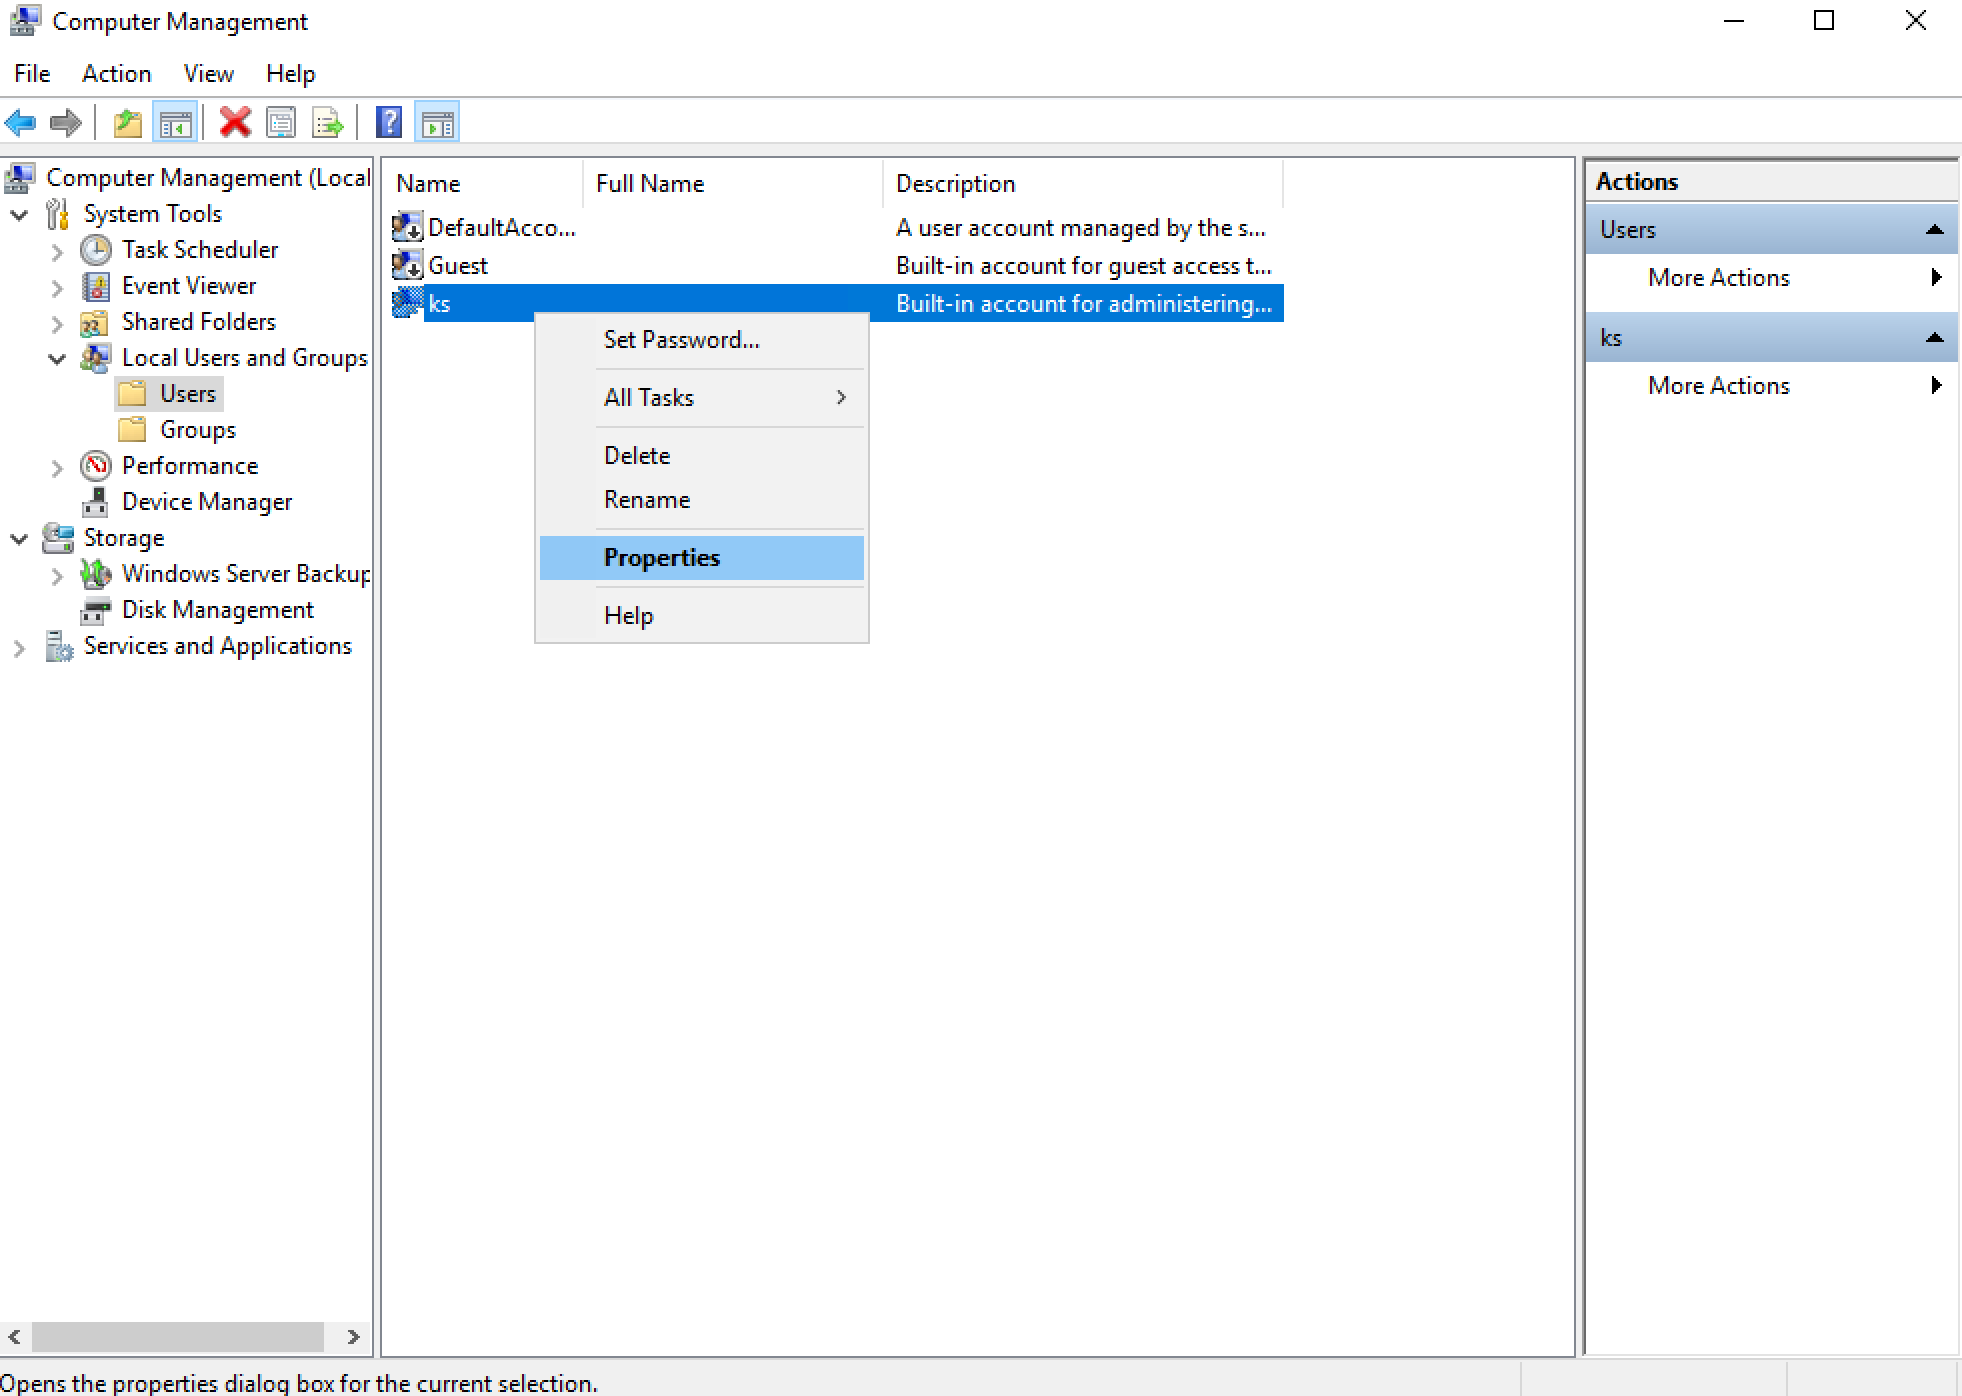
14. Open “Computer Management” and right click on the user account and select “Properties”
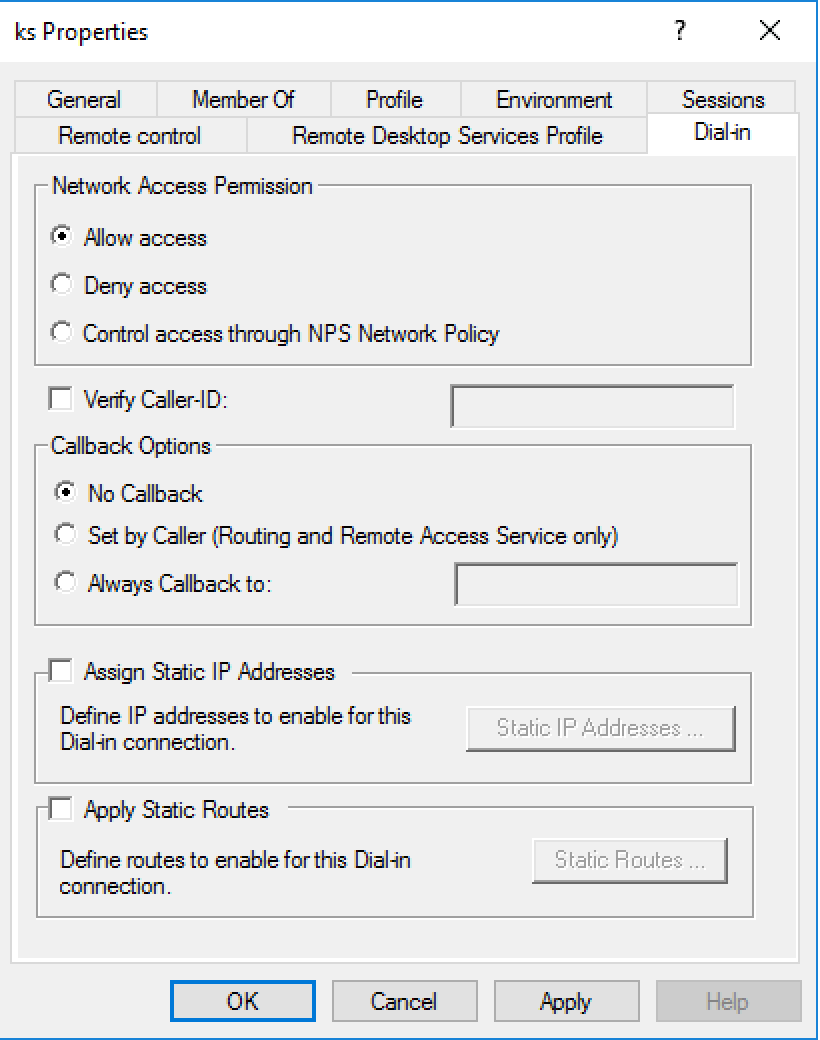
15. Select “Dial-in” tab and “Allow access”
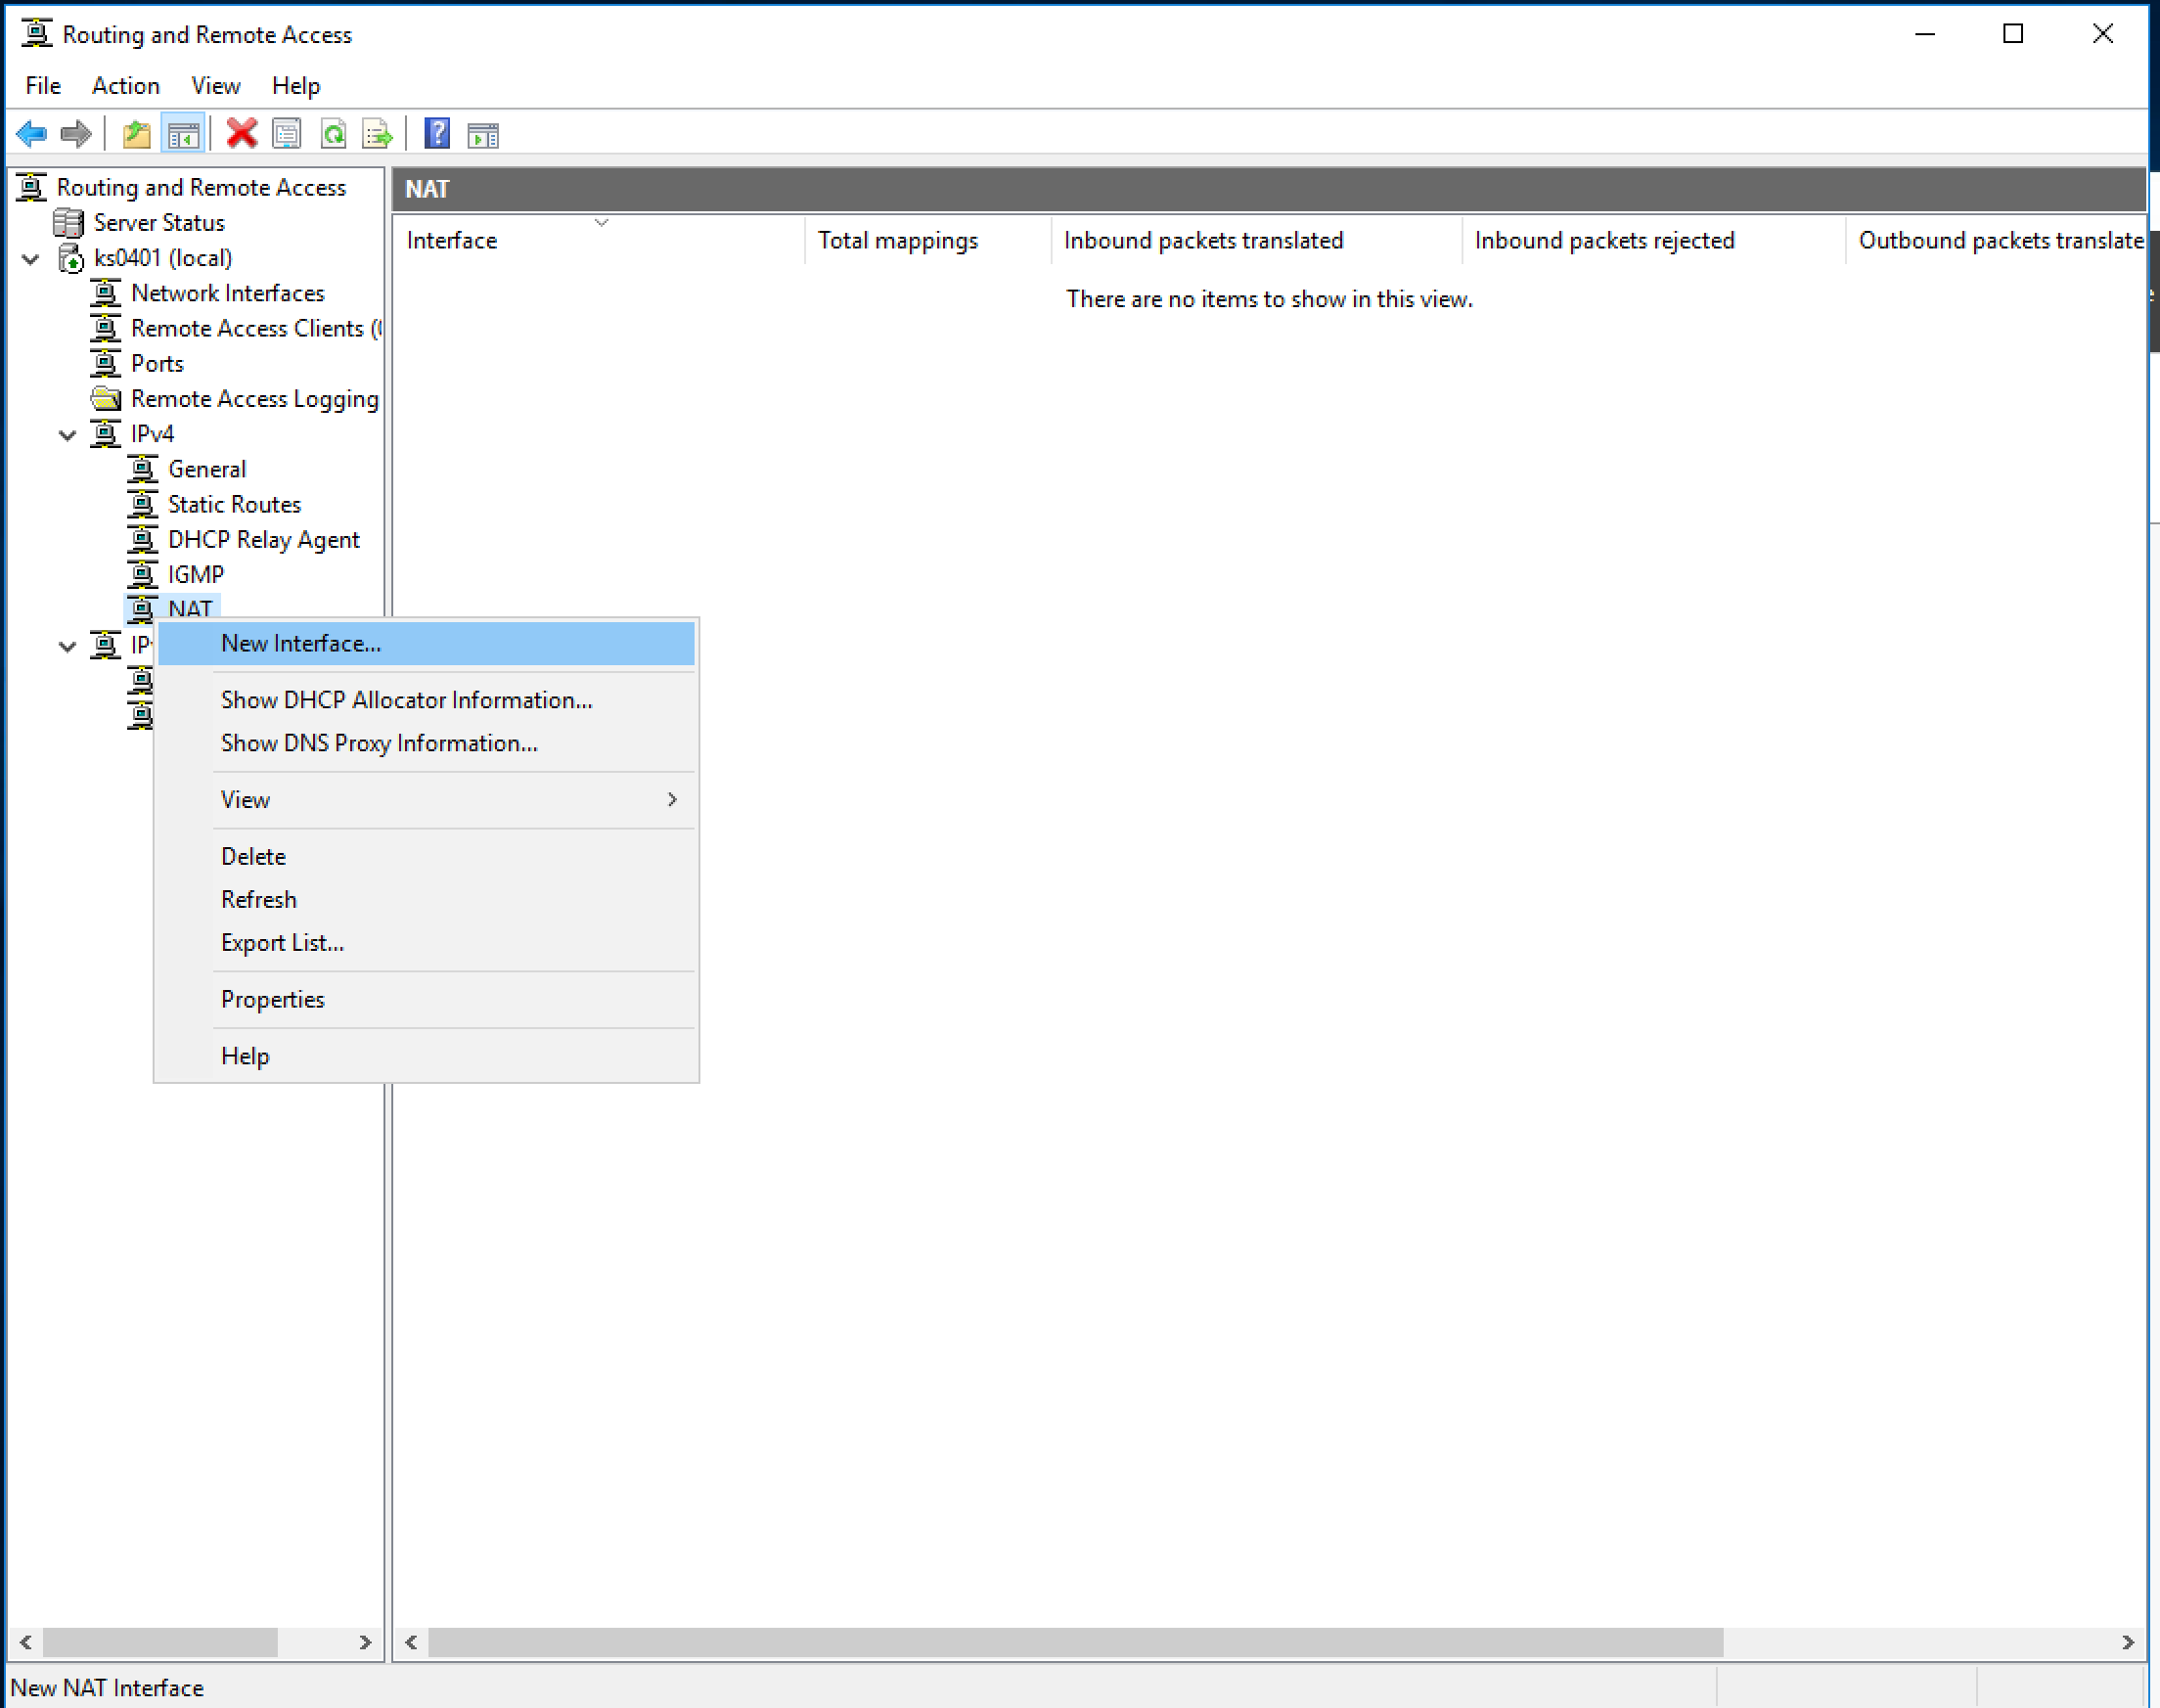
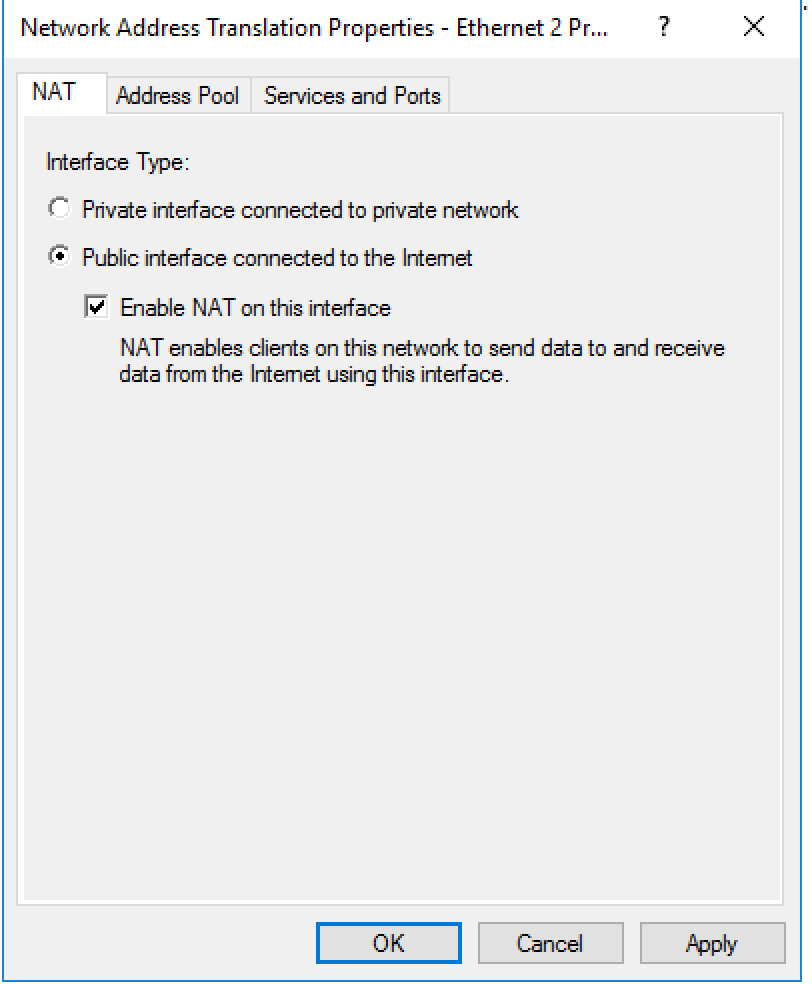
16. Go back to RAS manager and right click “NAT”, then select “New Interface…”
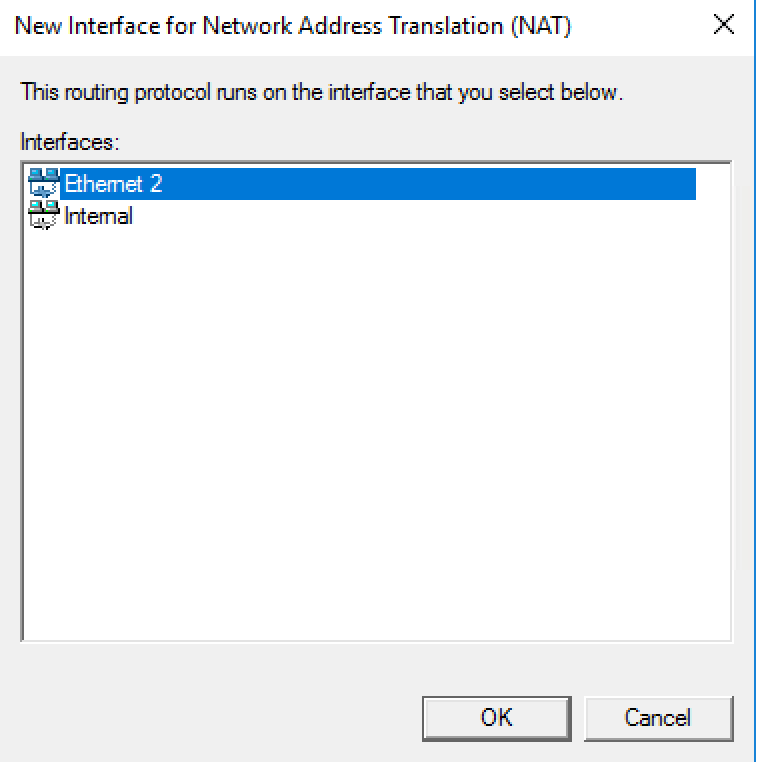
17. Select “Ethernet 2” (or a physical NIC)
18. Select “Public interface connected to the Internet” and tick “Enable NAT on this interface:
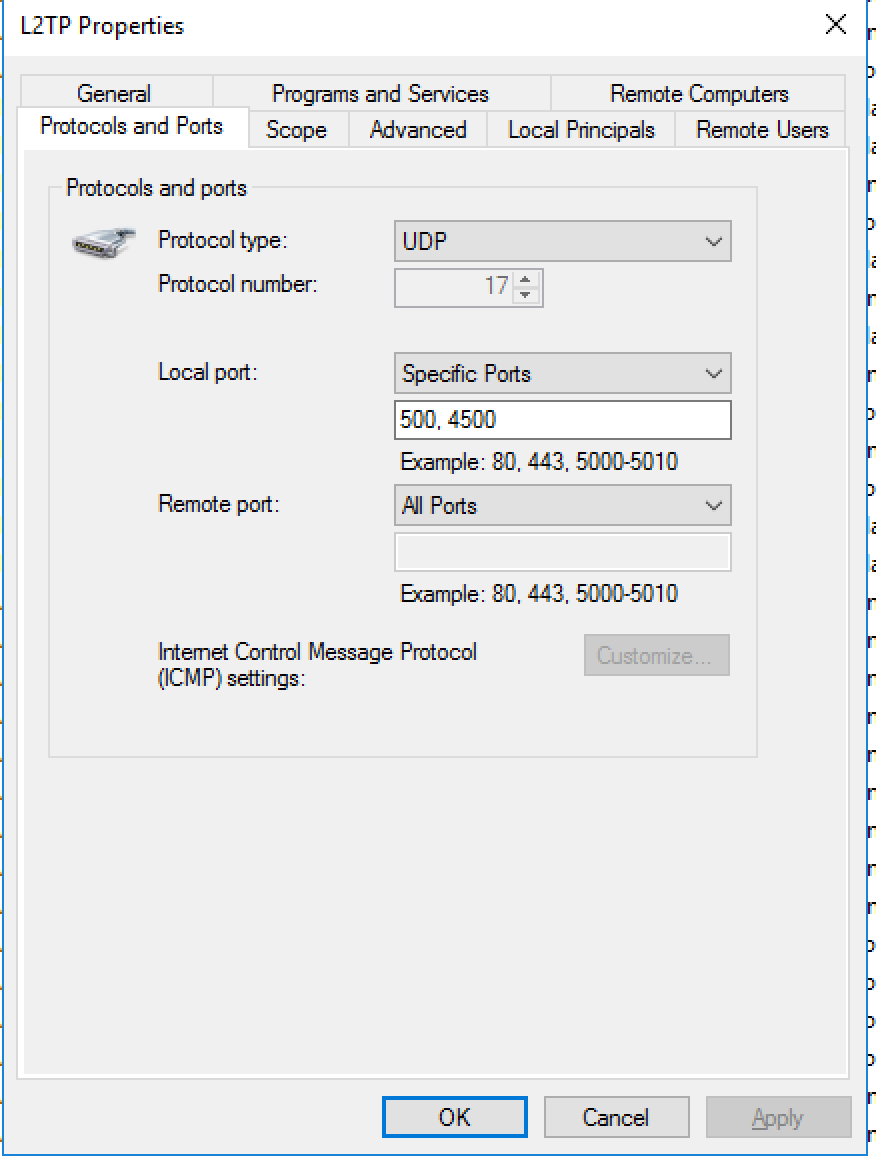
19. Allow 500/UDP and 4500/UDP in Windows Firewall, as well as on your Firewall.
When using L2TP/IPSEC on a Windows PC
Create and configure the AssumeUDPEncapsulationContextOnSendRule registry value, follow these steps:
- Log on to the Windows Vista client computer as a user who is a member of the Administrators group.
- Click Start, point to All Programs, click Accessories, click Run, type regedit, and then click OK. If the User Account Control dialog box is displayed on the screen and prompts you to elevate your administrator token, click Continue.
- Locate and then click the following registry subkey:
HKEY_LOCAL_MACHINE\SYSTEM\CurrentControlSet\Services\PolicyAgent
Note You can also apply the AssumeUDPEncapsulationContextOnSendRule DWORD value to a Microsoft Windows XP Service Pack 2 (SP2)-based VPN client computer. To do this, locate and then click the following registry subkey:
HKEY_LOCAL_MACHINE\SYSTEM\CurrentControlSet\Services\IPSec - On the Edit menu, point to New, and then click DWORD (32-bit) Value.
- Type AssumeUDPEncapsulationContextOnSendRule, and then press ENTER.
- Right-click AssumeUDPEncapsulationContextOnSendRule, and then click Modify.
- In the Value Data box, type “2”
- Click OK, and then exit Registry Editor.
- Restart the computer.